BLOG
How was made this 80Mb file of a beautiful sunset with a helicopter?
The work, step by step, of how this wonderful and large panoramic image was achieved

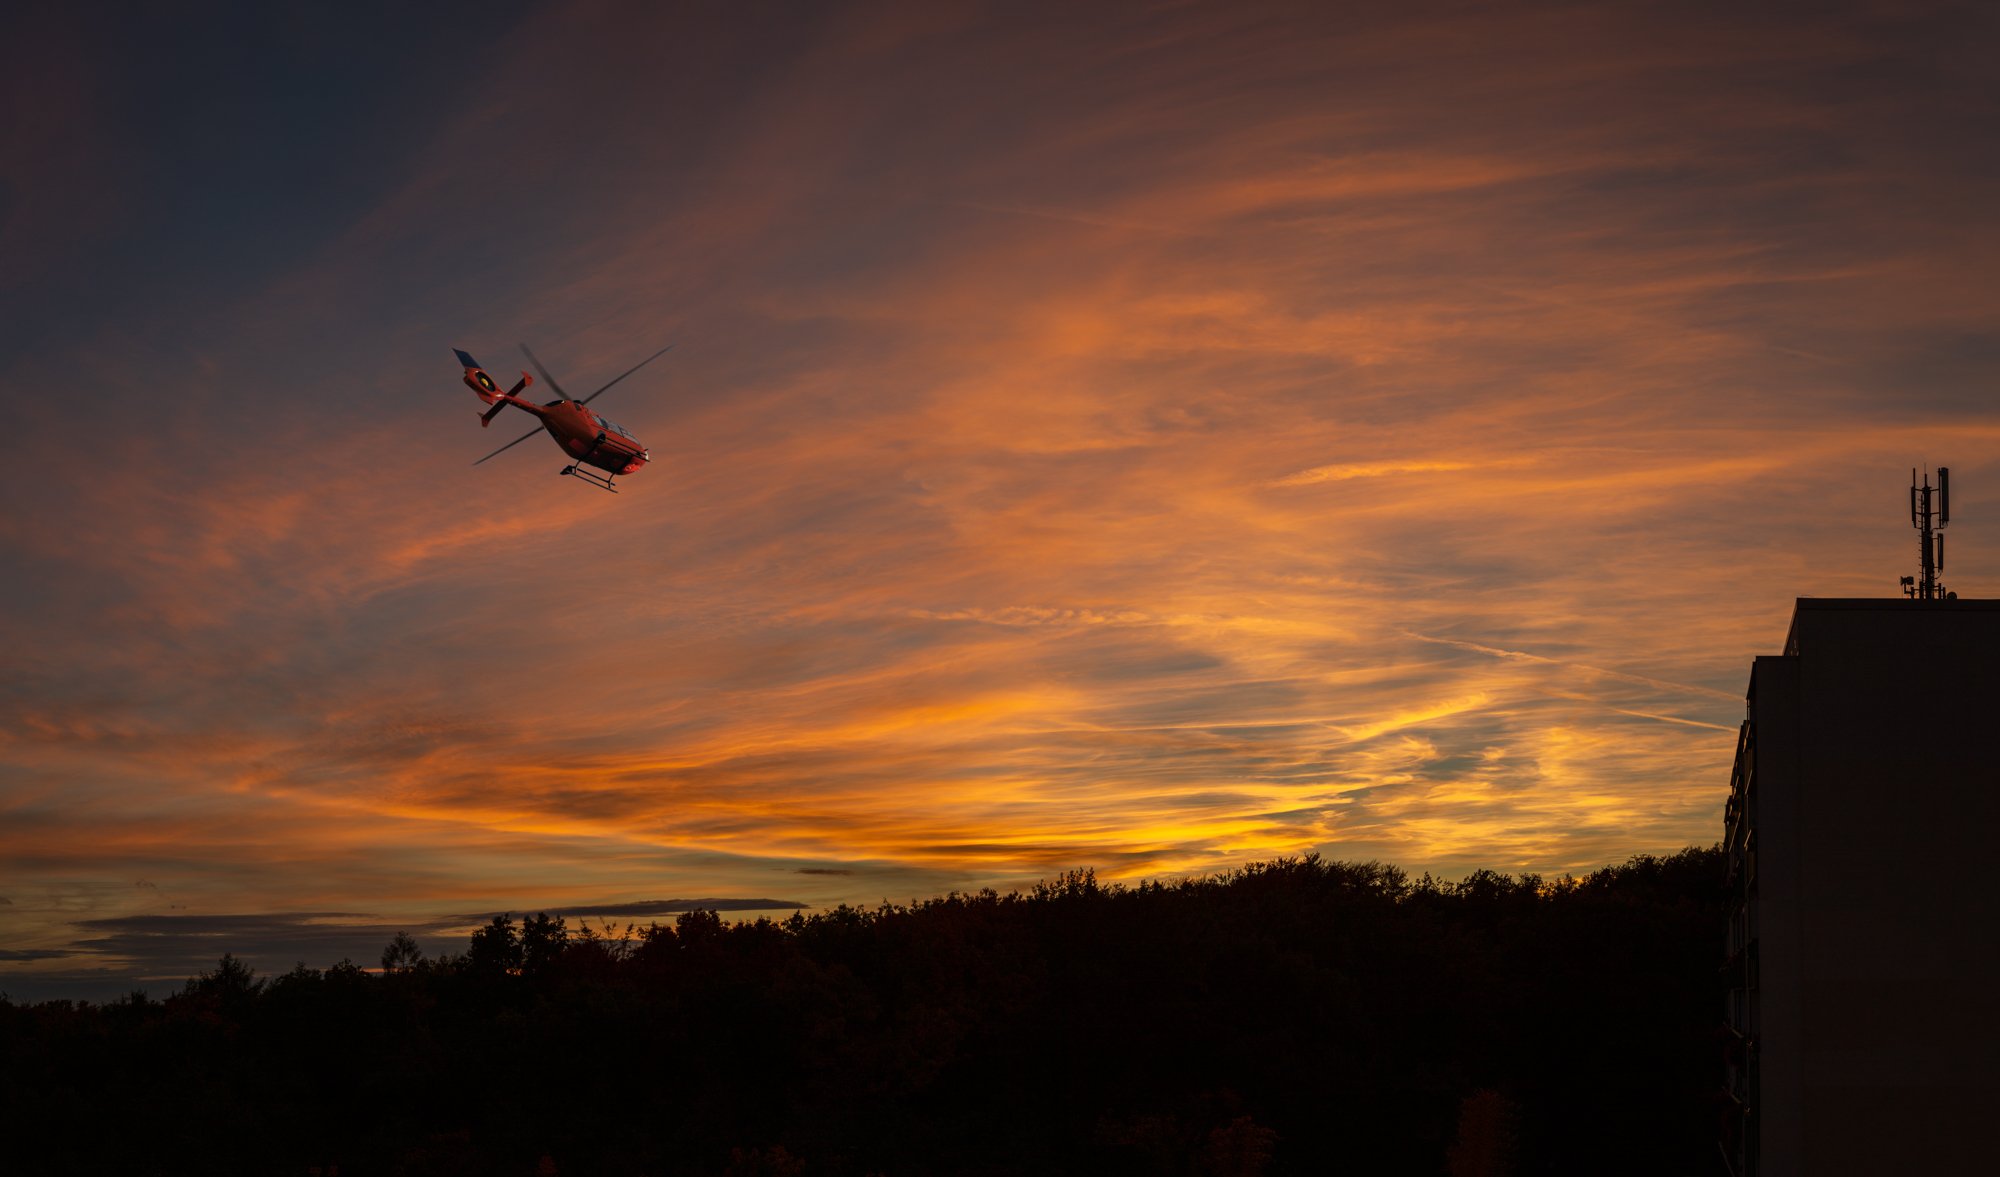
Dramatic landscape panoramic sunset scene with a helicopter as protagonist
This dramatic landscape was the result of a panorama stich made from 24 vertical shots (not 18 as I previously had said in other social media posts) from a balcony looking at the horizon on an October dusk.
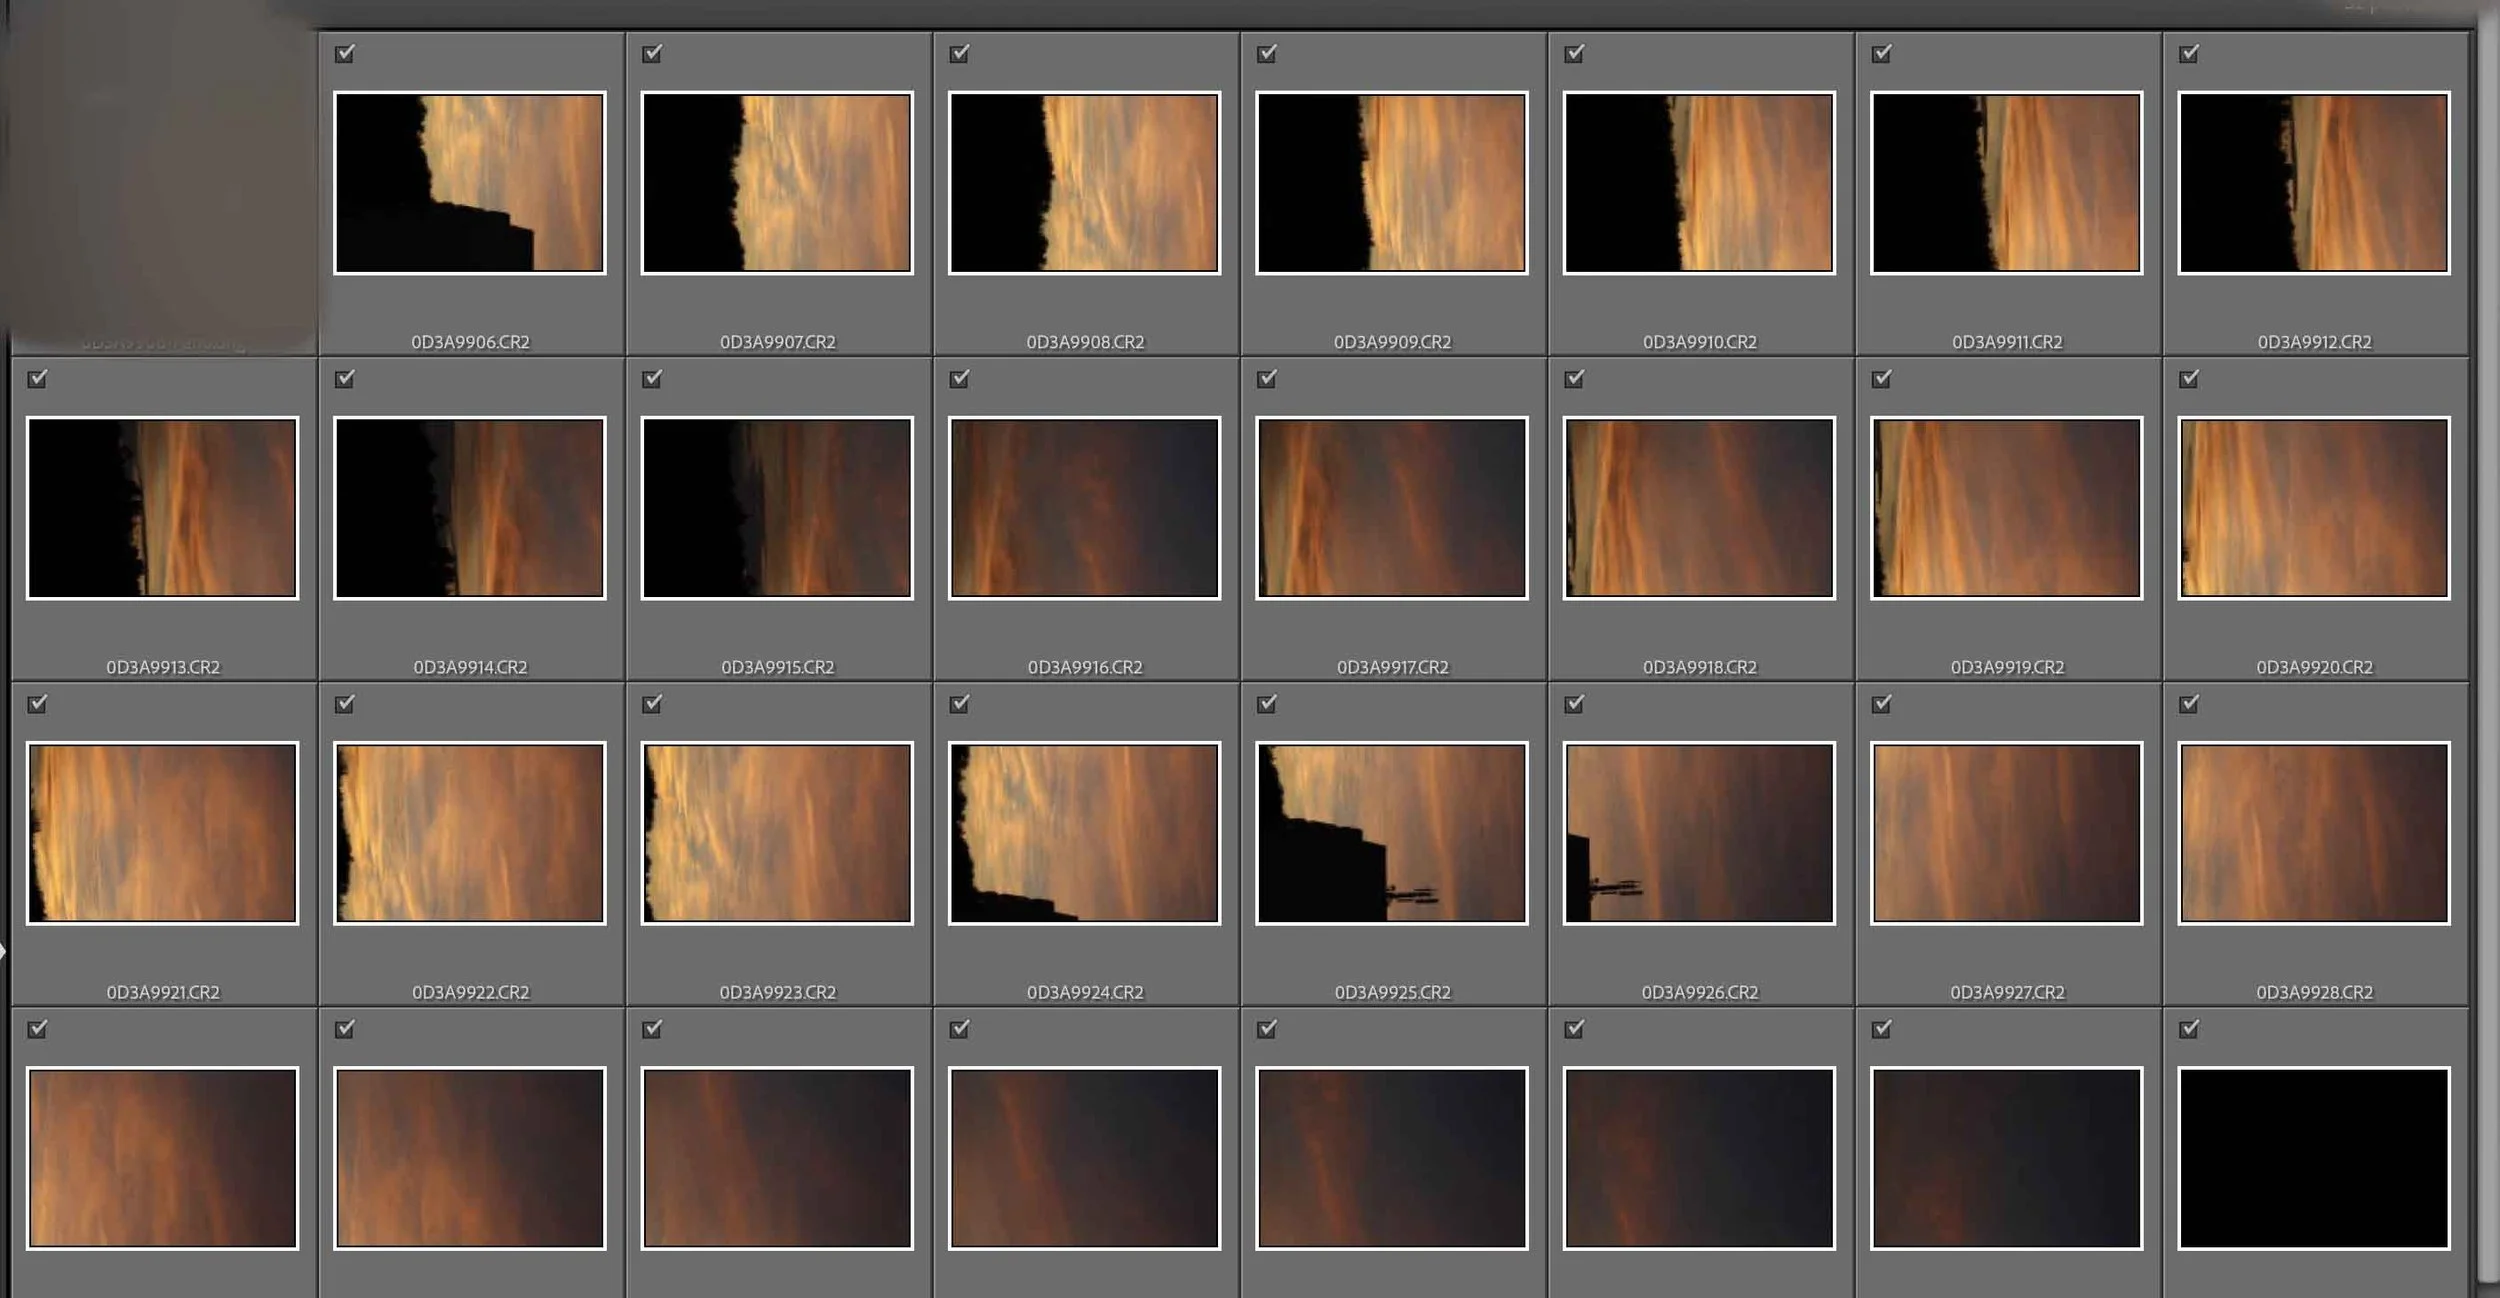
Files to be stitched as a panorama in Adobe Lightroom
It is good to advise now that vertical orientation is better to make panoramas and each shot should include 30% of the previous photo in the border side. This method helps the software to stich the photos better without gaps nor perspective distortion. Well, it is not always the case, but it surely helps a lot, reducing the need of more postproduction work.
Adobe Lightroom made a pretty good job with the Photo Merge Panorama command. I selected the Spherical Projection box because I took the shots standing on one point and moved the camera from left to right in a semicircular movement.

Resulting merged panorama image
Without any cropping or any other edition on the file, I exported the large panorama file as TIFF to work on it in Adobe Photoshop later.
Before working in Photoshop, I selected the photo of the helicopter which I made on a previous clear and bright summer evening from the same spot, with the same camera and the same lens. I selected the one with the helicopter closer in the foreground. I also exported that file in TIFF format.

Original helicopter photo
In Photoshop, I worked with the skyscape file, eliminating dirt spots that are almost always present on sky shots (no matter how frequently I clean the sensor and lens). I also edited some imperfections on the panoramic file, mainly on the balcony lines of the building on the right. I used Selection, Copy, Layer, Mask, Paint, Patch, Content-Aware Fill and clone to get it right. Clouds and trees were aligned perfectly. This image needed a main subject or a protagonist, the helicopter.

The result from the edition made in Adobe Photoshop to fix details from the original panorama from Adobe Lightroom

Helicopter with original color without logos nor lettering

Colorized helicopter
The helicopter file was dragged to the sunset file. It is important to note that, because the helicopter was shot from the same spot, with the same camara and lens, there was no need to Transform-Scale the subject. I only positioned the subject where I wanted. In the helicopter Layer, I Selected-Subject and carefully checked the border (feather and expand on the selection at 1). I made a new Layer with the subject. I colorized to subject in order to make it match with the colors of the sky. I used to Hue/Saturation Clipped Mask for that. I played with the Opacity Level until it was believable. I noticed that the windows of the aircraft hat the blue color of the original shot, so I painted the red sky of the sunset on the windows using layers and playing with the opacity level until it became realistic. Anyway, I had to work with the Clone tool to make the borders of the sky and the helicopter to look perfect.
Finally, I saved the file in Large Photoshop File format. In Lightroom, I made the final crop and work with the contrast, black and saturation.

Final JPG file of the composition with 80Mb in size.
The exported JPG file is 80 Mb. That panoramic format and detailed image in the file are perfect for large format prints like banners, billboards, gigantography, posters and wall decoration in matte, mesh, canvas, glossy, duratrans and other materials.
Thanks for reading. I hope that the content is helpful for you guys.
If you have any comment or question, please, write me at contact@camachophotography.com
We can work together for a better photography world.
Thank you again.
Alejandro Camacho